24-Hour Emergency Water Leak Detection in Atlanta
24-Hour Emergency Water Leak Detection in Atlanta
15-25 Minute Response Time
24-Hour Emergency Water Leak Detection in Atlanta
24-Hour Emergency Water Leak Detection in Atlanta
15-25 Minute Response Time
Becoming a victim to water damage is something no one wants to experience. The damage that the water causes to a person’s home is horrible. The reason why the damage hits hard is because of how your home absorbs the water. This can happen from the water slipping through anywhere in your home.
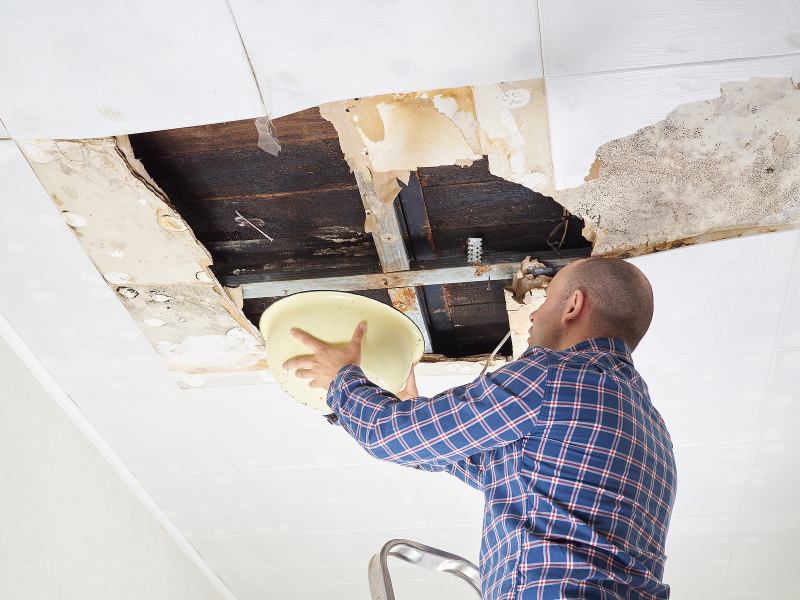
The main focus here is your ceiling. The part of your home where the water finds direct contact the most is the roof. If there are cracks or areas where the water can leak, then there could be a huge issue.
In this blog post, our professionals will explain how you can repair a ceiling from water damage.
As you’re experiencing water damage, you cannot just go straight into the repair phase. You must find the location of where this damage is coming from. The more time it takes for you to find the origin, the worse the damage will become.
Since this type of damage spreads quickly, it would be a smart move to consider the damage isn’t coming directly from the damaged area. Using this thought process, you can guess that the damage is coming from the roof. Even if you figure out that the damage is coming from the roof, you would have a hard time pin-pointing where the damage exactly is. If you are experiencing this, removing the drywall would be the most reasonable action.
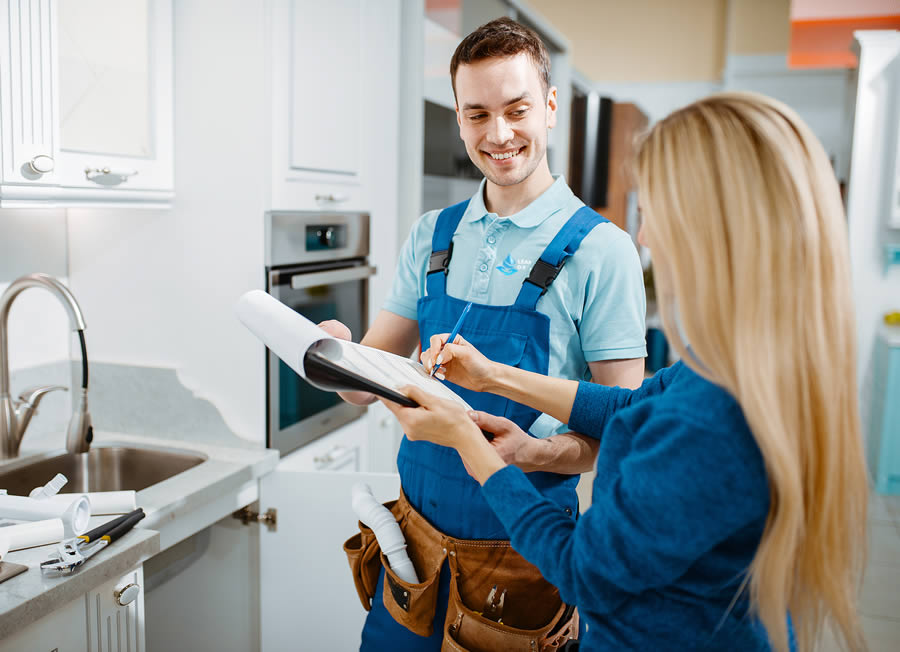
To avoid difficulties, professionals use special tools to find the location of the damage and where it comes from. The way they find out is by the moisture of the area. Once they locate the source, they schedule a water damage restoration depending on the information they receive.
Some of these sources come from terrible weather, clogged gutters, and leaking pipes.
Once the source has been located, it is time for the drying phase. Some small leaks dry on their own, but for the big ones, it will take some assistance. It is critical to dry this area out as quickly as possible to stop mold or any type of bacteria from growing. To start this process, you will need a fan to improve the airflow in the area. After that, start drying the damaged area with towels. Don’t forget to surround the area with more towels to protect your floor and walls from debris and damage.
As you dry up the area, it is important to remove all the damaged parts and clean up the affected places. This is a critical step as you don’t want damaged pieces ruining the repair process.
When you’ve cleaned up everything, you can start the repairing process.
Before you start, grabbing some tools will help you. The most important one will be sandpaper as you can use it to smoothen out bumps. Once you’ve smoothed them down, leave the area to relax and dry, then do it again. Depending on the size of the damage, you may have to use precautions and certain techniques.
Have you fallen victim to water damage and need a water damage removal? Luckily, you’ve come to the right place. Here at Leak Detection of Atlanta, we have dedicated professionals ready to solve your issues. Contact our representatives for more questions.


Are you concerned about a plumbing leak in your home or business? Then it's important to get your…
Are you afraid a plumbing leak is present somewhere on your property? Whether you're a home or business…
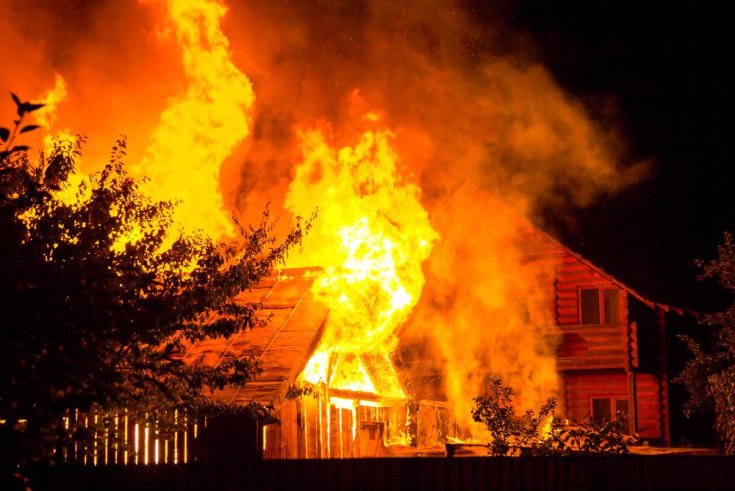

What to Do When a Fire Starts in Your Home Experiencing a fire in your home can be frightening. According to the National Fire Protection…
How to Prepare for Winter Storms Winter brings with it a tranquil coating of snow, but it also carries with it the possibility of unforeseen…
